Chamber Casting
feature By: Zack Buck | March, 22
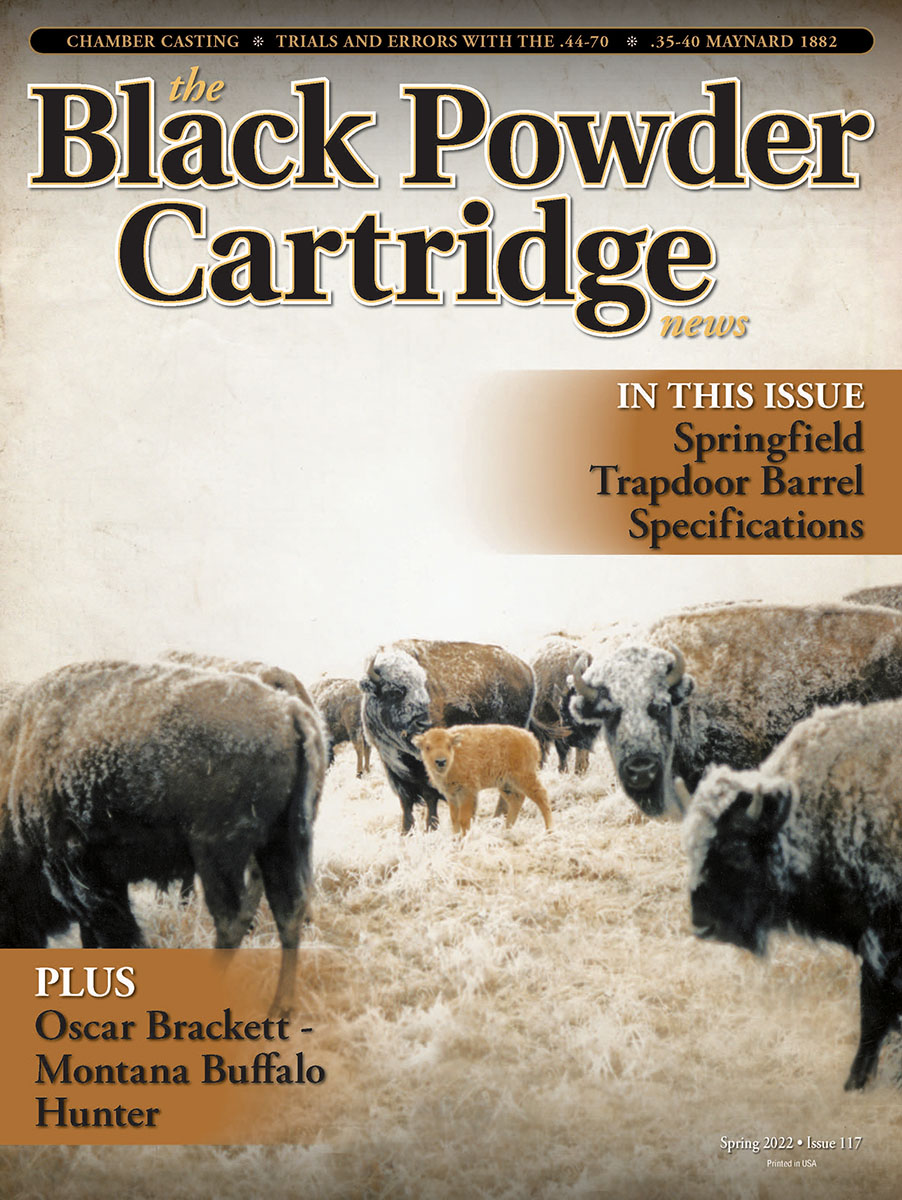
So with that said, let’s learn how. First things first as we need to gather some supplies including casting material, a ladle, a heat source and protective equipment. Also needed are some basic cleaning supplies, a cleaning rod, some patches and your favorite gun oil. A cleaning jag is helpful if you have one, and if the gun is dirty, solvent and maybe a brush. I have a Lyman casting ladle just specifically for my chamber casting alloy and it holds enough alloy that I don’t need a separate pot to melt it in. For casting alloy, I have always used Cerrosafe. It melts at a low temperature, is easy to work with and has a predictable shrink rate. As a heat source, I use a simple plumber’s propane torch. A good heat gun would also work.
Next, prepare the firearm. Begin, as always, with ensuring that the gun is unloaded. Then, remove the stock and field strip the rest of the gun. You want as many moving parts out of the way of the chamber area as possible. Inspect the chamber and bore area to ensure it is reasonably clean. If not, take the time to scrub it. Run an oily patch through the chamber and bore, followed by a dry patch, or even two. You want the thinnest film of oil in the chamber, throat and a small section of the bore. Now, fold a patch into quarters and push the point into the muzzle, pushing it almost to the throat with your jag. (Don’t worry about running the ramrod in from the muzzle end, it will get scarier here in a minute and we aren’t making a habit out of this behavior.) Now, you may want to run your jag in from the chamber end to gently tamp the patch about one inch past the throat so you get some of the bore itself in your casting. (Although this can help to identify bore diameter, if there is any question, the bore should be “slugged,” but that is another discussion.) You are going for a tight seal so the casting material doesn’t run down the bore and in between the oak floorboards in your shop, for a strangely specific example. I have found flannel patches work very well for this project.
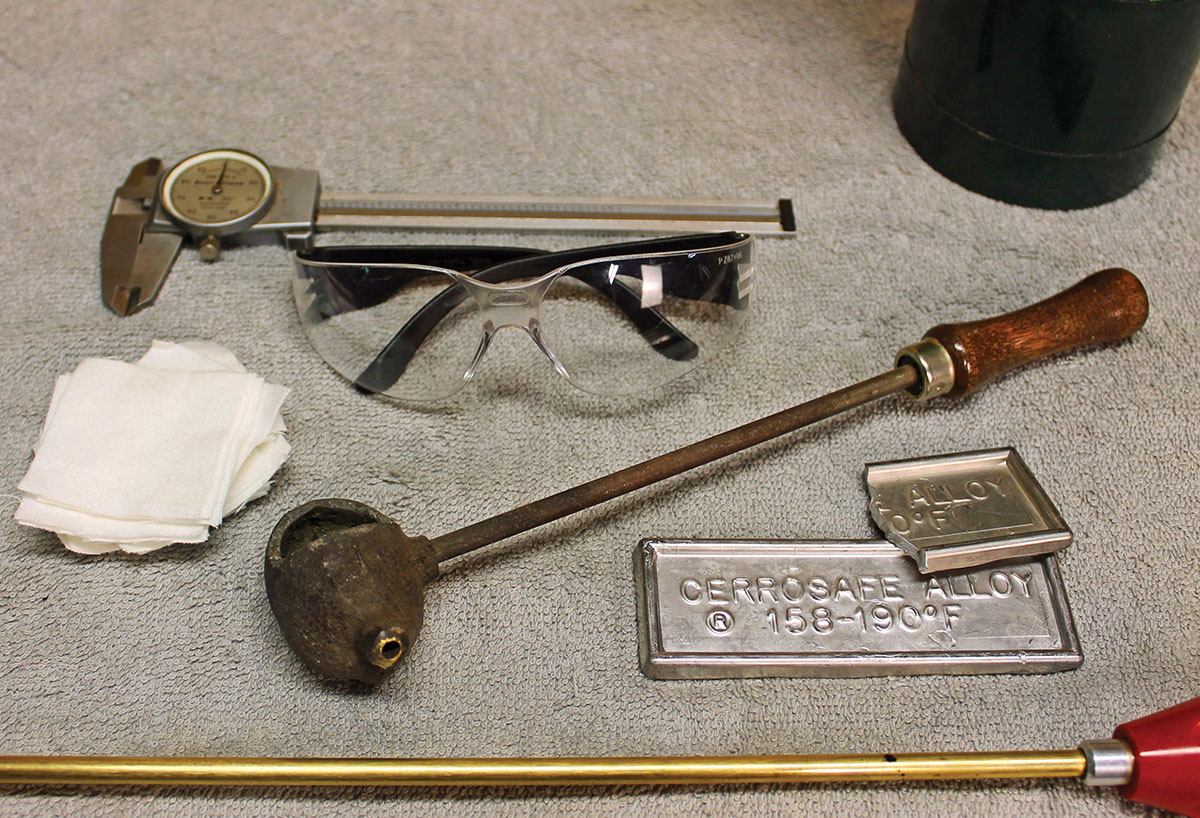
I prefer to hold the gun in a vise with wood or similarly padded jaws so I have both hands free for the next step. Use a torch or heat gun to gently and slowly heat the chamber area of your rifle. You want it just a little warmer than what is comfortable to touch.
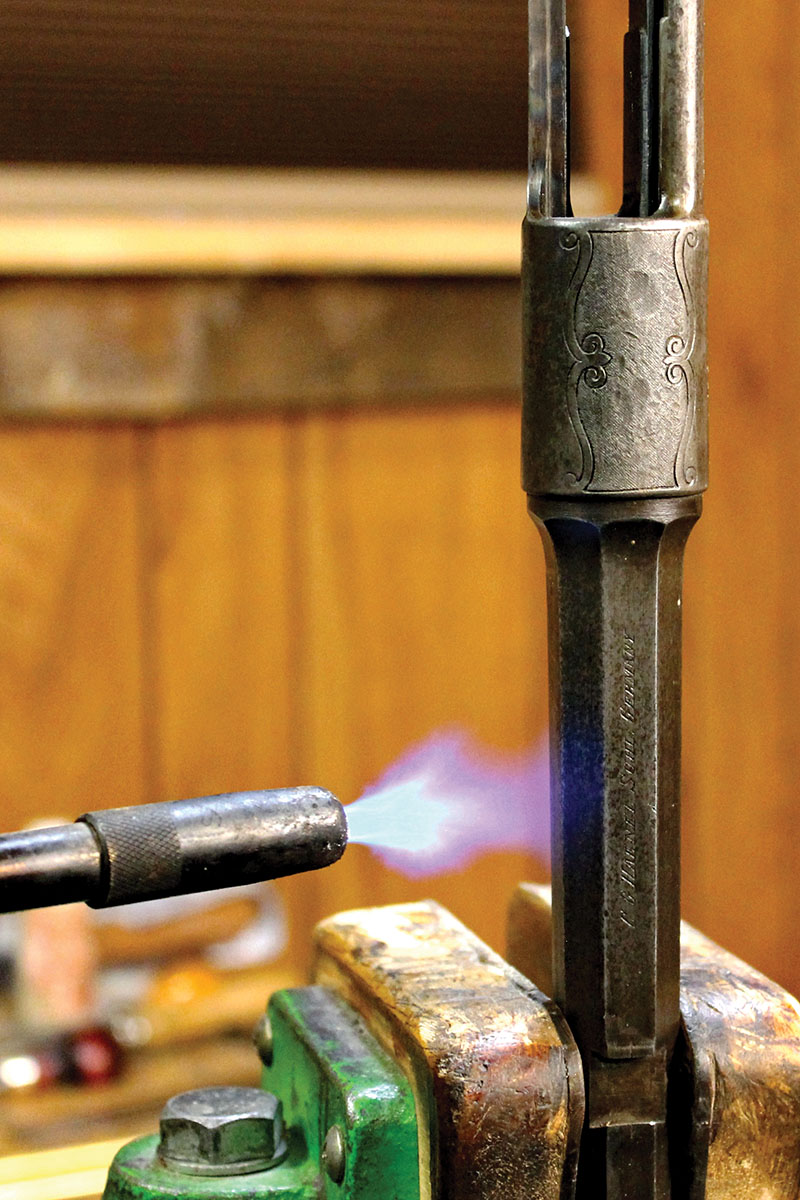
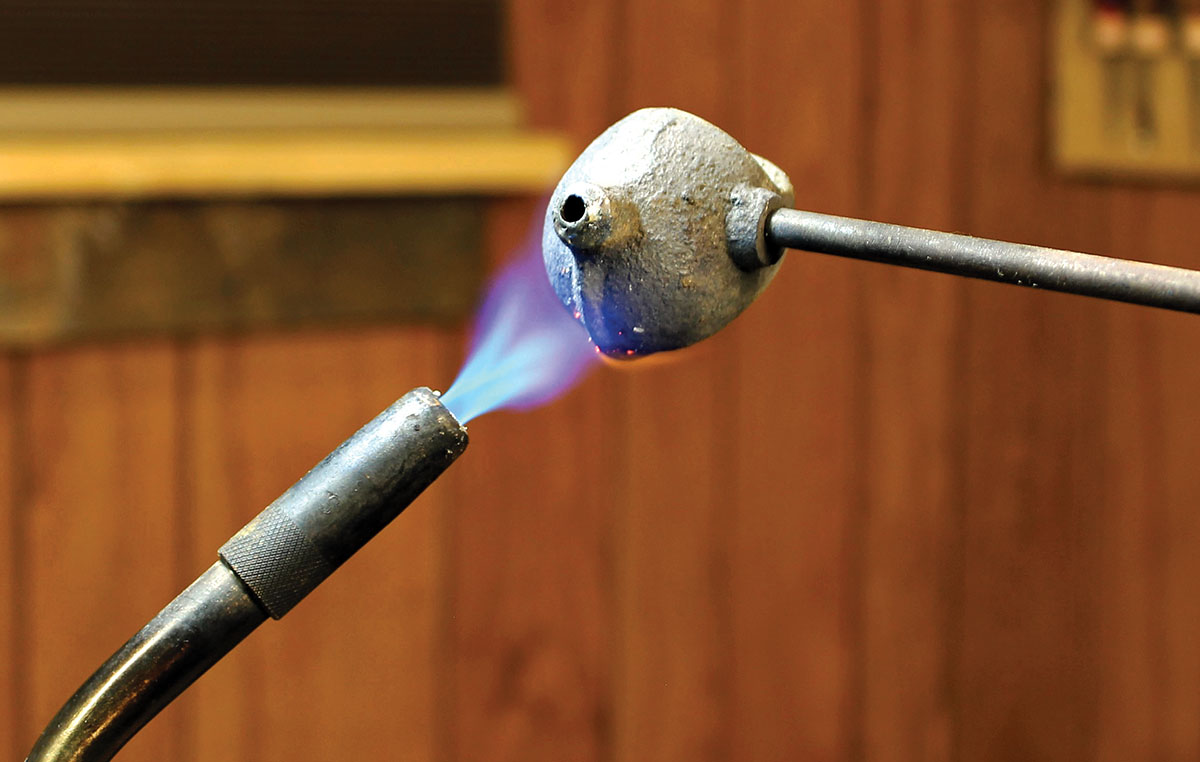
Next, melt some of your casting alloy into your ladle. The ladle should be full to almost overflowing, as you want to make sure you can fill the whole chamber in one pour.
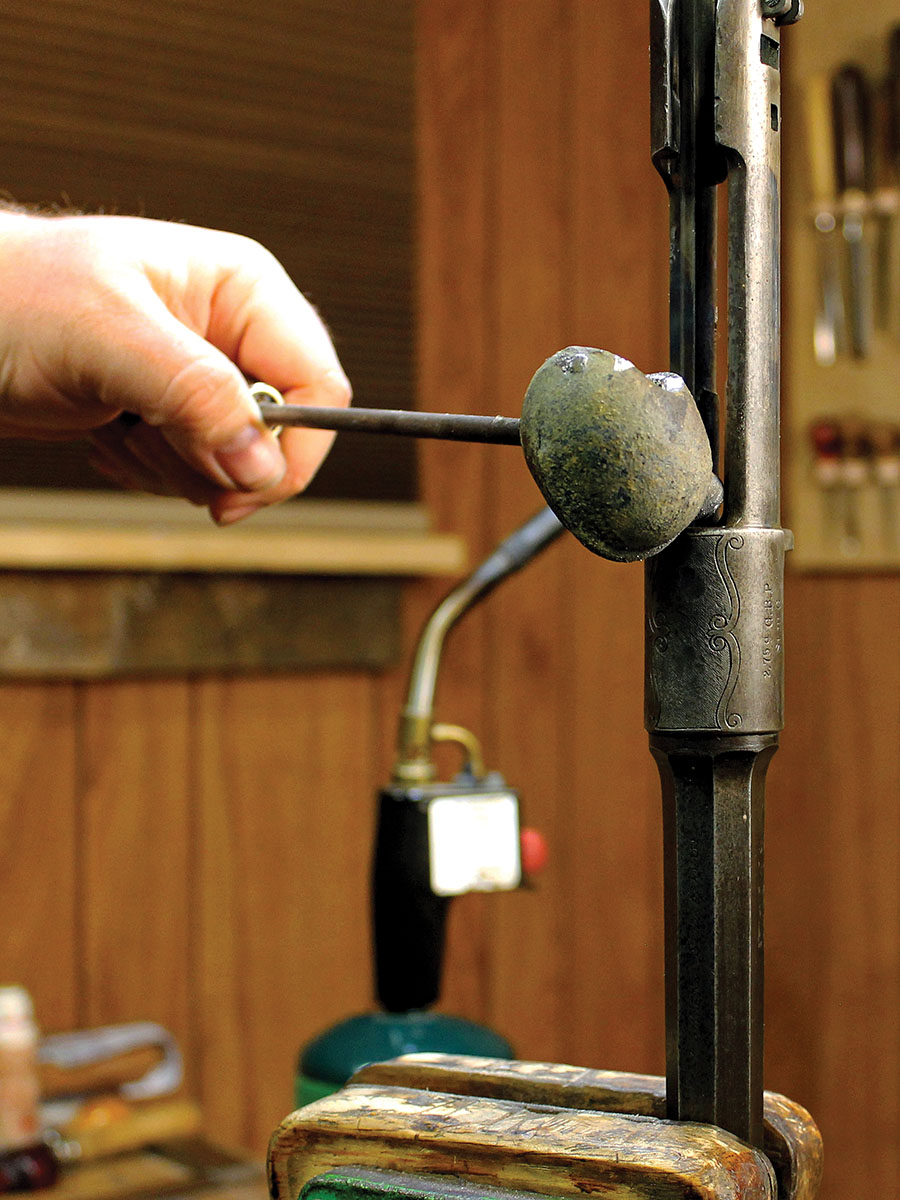
When the alloy is just melted, carefully pour it into the chamber of your rifle. It helps to do a “dry run” before melting your alloy to find the best angle of approach for your ladle. Fill the chamber all the way to the top being careful to keep it from spilling over into hard-to-clean nooks and crevices.
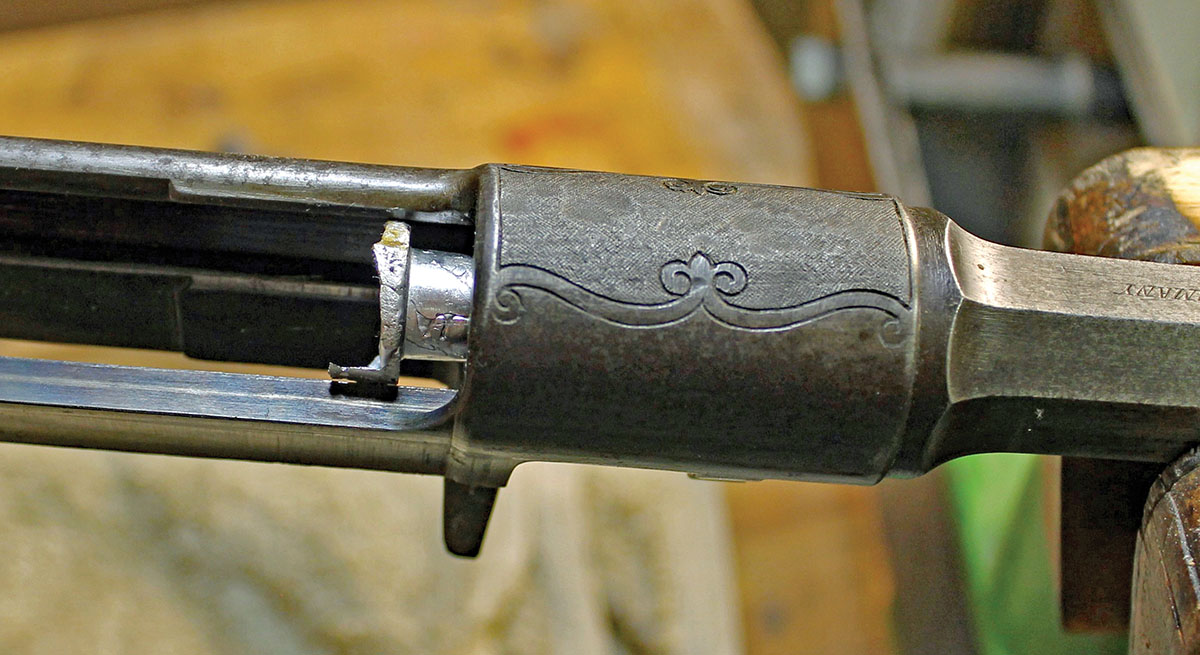
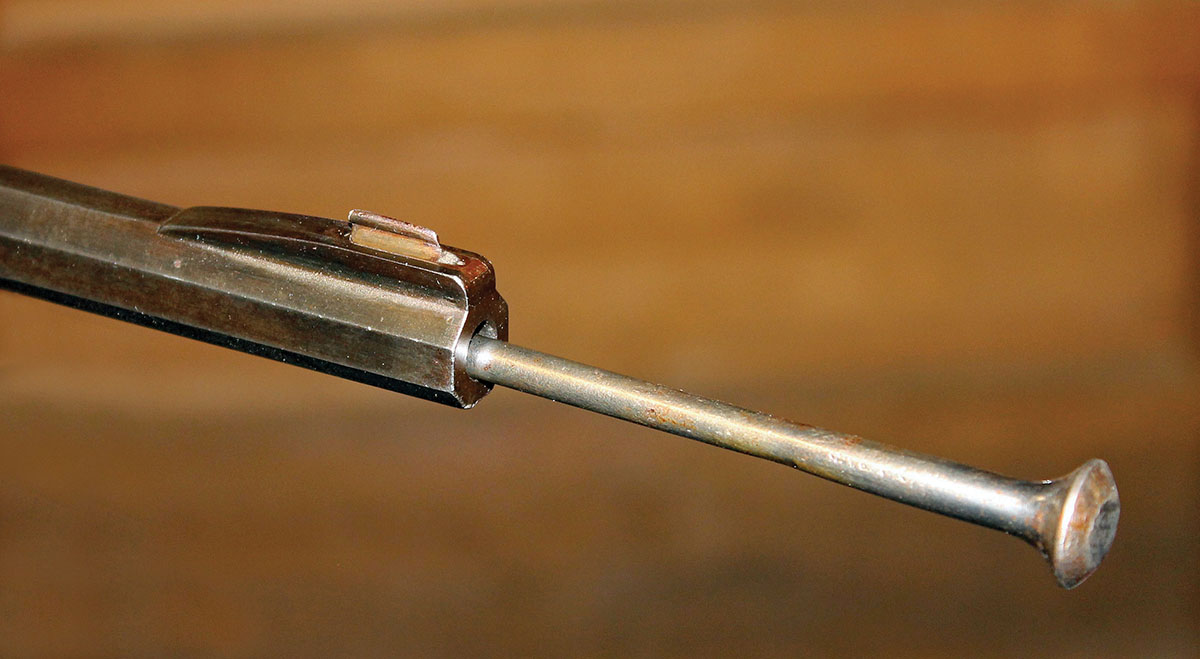
Allow the casting to cool for at least 10, but not more than, 15 minutes. Turn the rifle horizontal in the vise and place a folded-up rag or towel under the receiver to catch the cast. Use the jag and rod to knock the cast out of the chamber. If you have the style of jag with the little point on it, it is liable to bend or break, so I just nip them off ahead of time. If possible, use a brass rod that is closer to the barrel length rather than your good cleaning rod (brazing rod works well if you can get it to fit closely to your bore). In my shop, we now have a short steel ramrod with a tulip end that we use because we got tired of bending good cleaning rods. Usually, a couple of sharp taps with a mallet pops the cast out. It will still be warm, so be a little patient here and let it finish cooling on the towel.
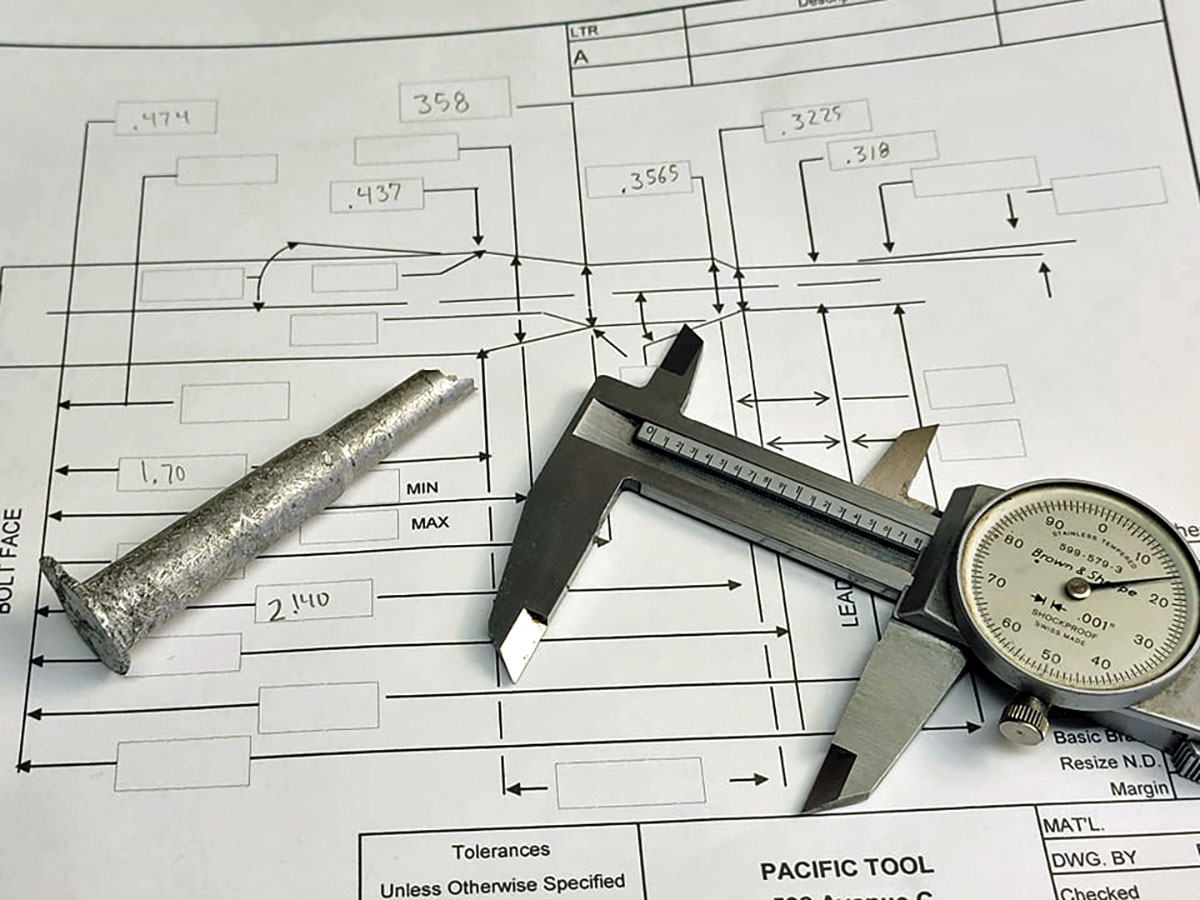
The data indicates that one hour after the pour, the cast will be closest to the size of the chamber. I like to use a blank chamber spec sheet to record my data. When measuring, use good measuring tools and make sure to check that each of the cross sections measured are round. Now use your diagram to cross-reference what your chamber is. I always start with Ammo Encyclopedia by Michael Bussard. Keep in mind that while measuring for chamber length to account for the distance between the breechface of the rifle and the rear of the barrel in the casting.
If your luck runs like mine, the phone will ring right after your pour, 10 minutes turns into 40... and now you have a stuck casting. Or, the phone rings and startles you while you are pouring and you end up with some of the alloy somewhere you really didn’t want it. Well, lucky for us, in this case, dipping the action in boiling water will melt the alloy out, problem solved. Other reasons for stuck castings can be a reverse taper in the chamber, rust and/or pitting, which will cause a mechanical lock in the chamber.
TROUBLESHOOTING YOUR TECHNIQUE:
Frosty or crystalline appearance on the casting indicates the casting material was too hot. I have found that I can often still get good measurements off of these castings, but they are not as helpful in identifying eroded throats, scored chambers and other defects.
When I get my temperature “just right,” I get a very clean cast that I can use for the full battery of chamber diagnostics.
OTHER USES FOR THIS TECHNIQUE:
Inspecting the throat for erosion. For this, it helps to know what a new chamber looks like, so as to have something to compare it to.
While chamber casting is an invaluable skill for professional gunsmiths, it is also a great skill for the amateur or hobbyist to possess. With just a few special tools, and a little bit of practice, you will feel those unmarked rifles in dusty corners of your favorite gun shop aren’t so far out of reach.