
Bullet Casting
feature By: Bob Glodt | October, 17
To become proficient, one must know and understand the basic rules of casting and follow them religiously. Turning out top-quality lead bullets involves a healthy dose of tech-nique, as well. Pitfalls can creep into the process even with the most experienced bullet caster. It is necessary to pay attention to the small details of casting to avoid problems.
Bullet Alloy
Most black powder cartridge competitors use a lead-to-tin alloy that is between 20:1 and 30:1. An alloy of 30:1 contains one pound of tin for every 30 pounds of pure lead. Various companies catering to black powder cartridge shooters sell premixed alloy, so it is not necessary to blend your own. The alloy I use is 25:1; however, I am one who prefers to buy pure lead and tin and blend my own. But to obtain consistent bullet weights
There is a good reason why black powder cartridge shooters prefer relatively soft bullets when compared to the typical alloys used in pistol bullets such as Lyman No. 2 alloy or linotype. The softer alloys such as 20:1 to 30:1 will fill the bore better after powder ignition than will the harder alloys. Because most black powder cartridge calibers produce velocities below 1,250 feet per second (fps), barrel leading is generally not a problem, even when using a soft alloy such as 30:1. There is actually a greater tendency for barrel leading to occur when harder alloys such as No. 2 or linotype are used when compared to softer alloys. With black powder cartridge rifles, barrels are typically 30 inches long or longer, and this in and of itself can be an attributing factor to barrel leading, especially with hard alloy bullets. Also, black powder fouls a barrel much more than does smokeless powder, and this can also contribute to barrel leading when hard alloys are used. In competitive shooting, for each bank of ten targets, four to five shots are typically taken at the sighter and then ten are fired for score. Barrels can become very hot during this string of fire, and therefore, leading can become more of a problem with the hard alloys. Lead alloys containing antimony should be completely avoided for black powder cartridge silhouette competition.
An alloy of 25:1 shoots very well in my rifles. I have conducted a limited number of tests comparing the accuracy of bullets cast from alloys that range from 20:1 to 30:1. From these tests, I have concluded that there is little difference in accuracy from bullet alloys cast within a range of 20:1 to 30:1; however, 25:1 alloy casts better in the area where I live.
Precasting Preparation
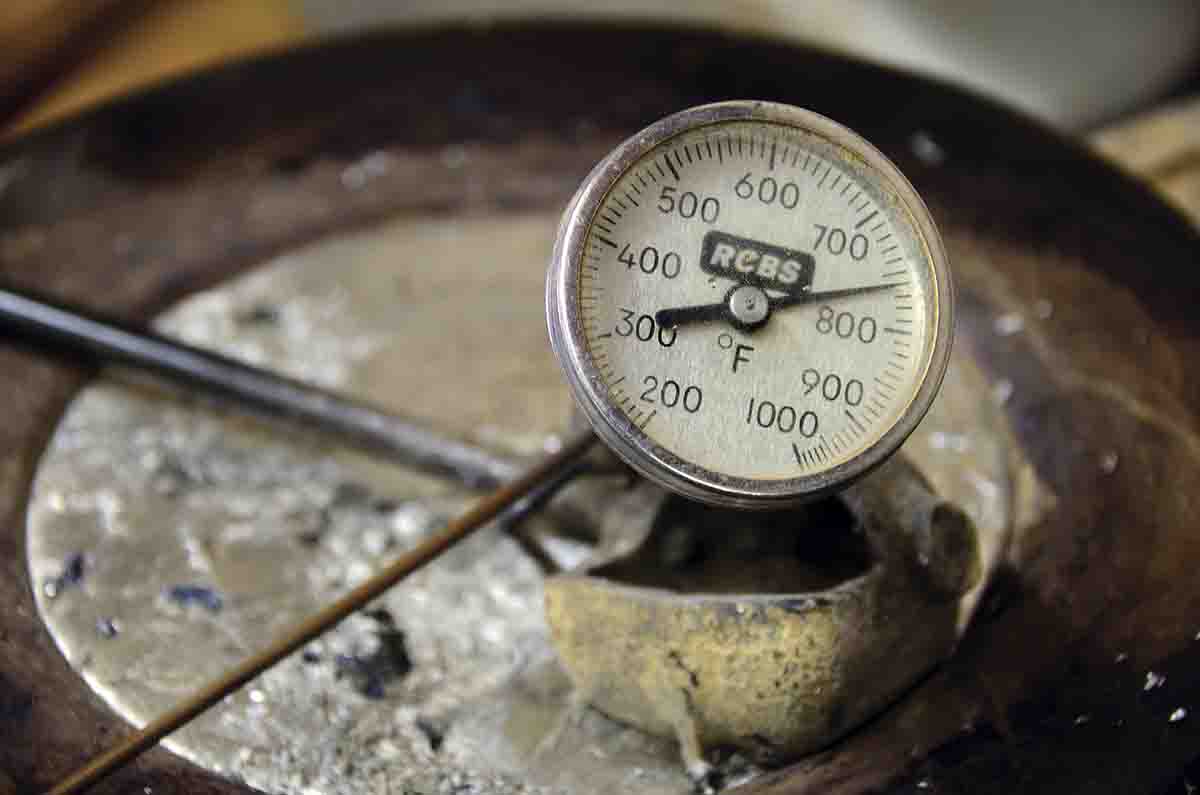
Proper lead alloy temperature is important to castability. If your bullets tend to stick or hang up in one side of the mould cavity when it is opened, and the mould is not rust-pitted in the bullet cavity, casting at too high a temperature could very well be the source of this problem. On more than one occasion, a competitor told me that it was necessary to repeatedly tap hard on the mould handles to get a bullet to fall from a brand-new bullet mould. Where I live, casting at temperatures above 800 F almost always results in difficult bullet extraction. At a casting temperature of 750 F, only one light tap is required for the bullet to drop free from the mould. The bullet will drop free most of the time when the mould blocks are opened without the need for tapping or persuasion from the mallet. On the opposite end of the temperature issue, casting at a temperature too low will obviously result in poorly filled bullets with rounded driving bands
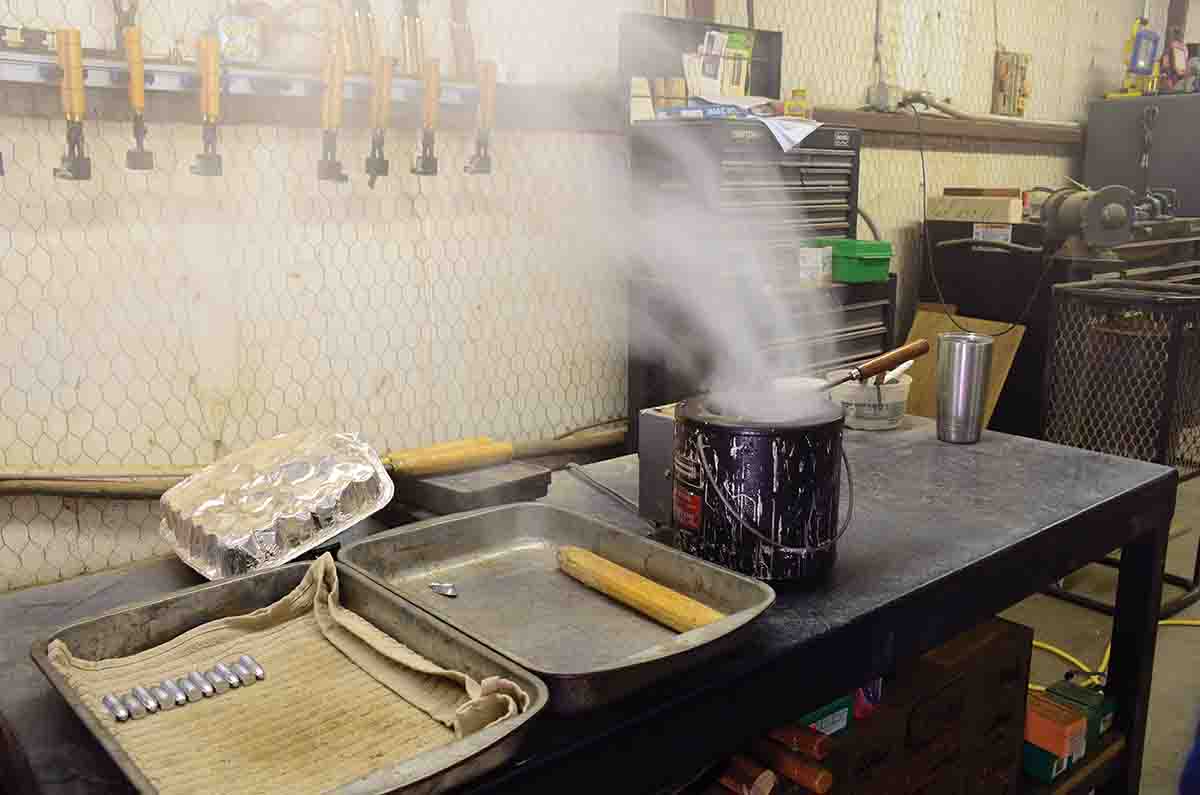
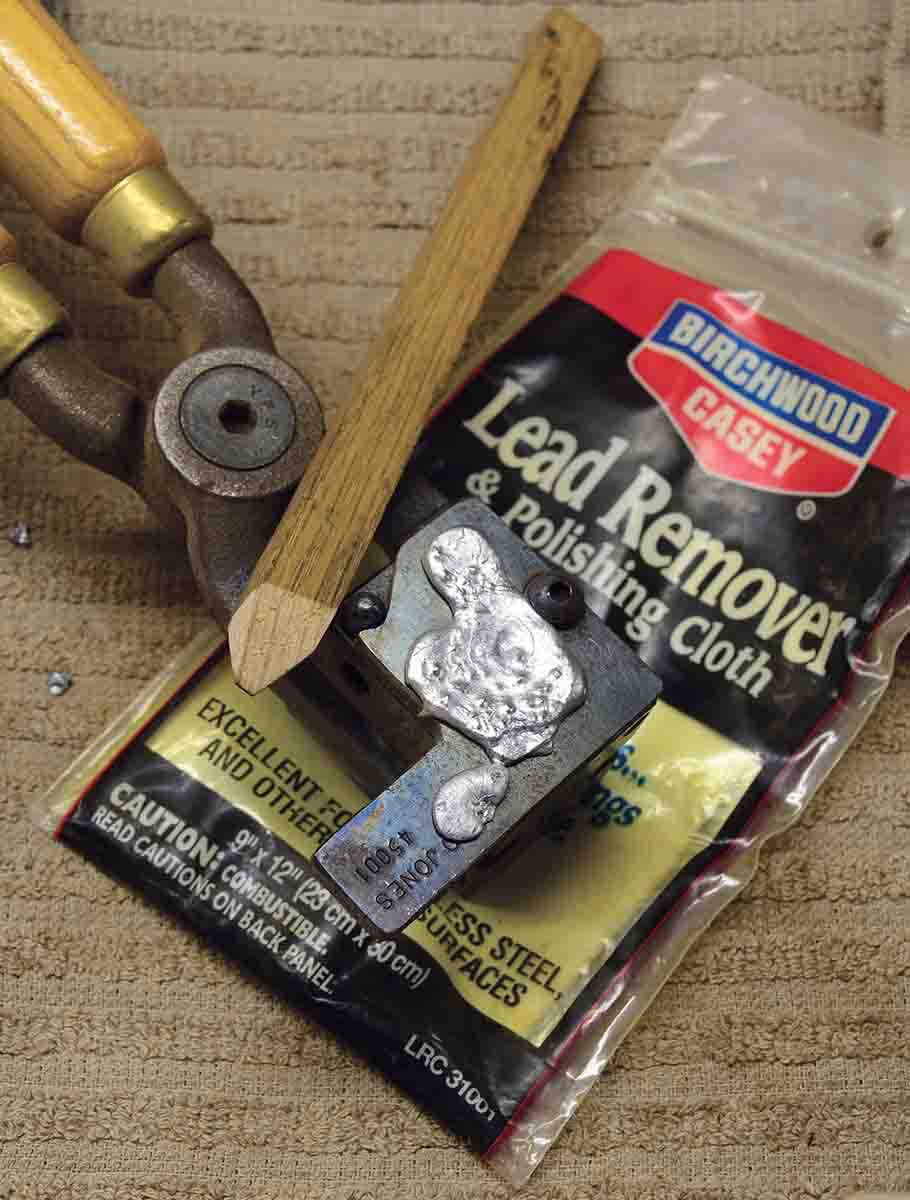
Once lead reaches the ideal casting temperature and the mould has been preheated, the lead alloy should be fluxed to remove impurities. Several commercially available fluxing products are available that work well for this purpose. I use one of my wife’s recycled candles as a fluxing agent. Bullet lube also works very well. Using candles or bullet lube for fluxing materials has a down side – it will generate a considerable amount of smoke. This is obviously unacceptable for those who cast in areas that are not well vented.
Regardless of which flux is used, always use a ladle to stir the flux in the lead pot. By doing so, the flux will aid in removing impurities that accumulate on the outside and inside of the ladle. The impurities that rise to the top of the lead after fluxing should be skimmed off with the ladle and discarded. You should flux only once at the beginning of each casting session or when more lead is introduced into the lead pot. Frequent fluxing lowers the temperature of the lead, and several bullets must be cast before the mould once again begins to cast good bullets; frequent fluxing is not necessary to cast a batch of good bullets. After fluxing and stirring the lead, a wire brush should be used to brush off the outside of the ladle.
As you cast, slag will begin to form and float on top of the lead. The same ladle used to pour lead into the mould can be used to skim off the slag. My rule of thumb is to flux once and skim often. I usually skim the lead surface to remove slag once for every 10 bullets or so. More frequent skimming is necessary as the lead is depleted in the pot.
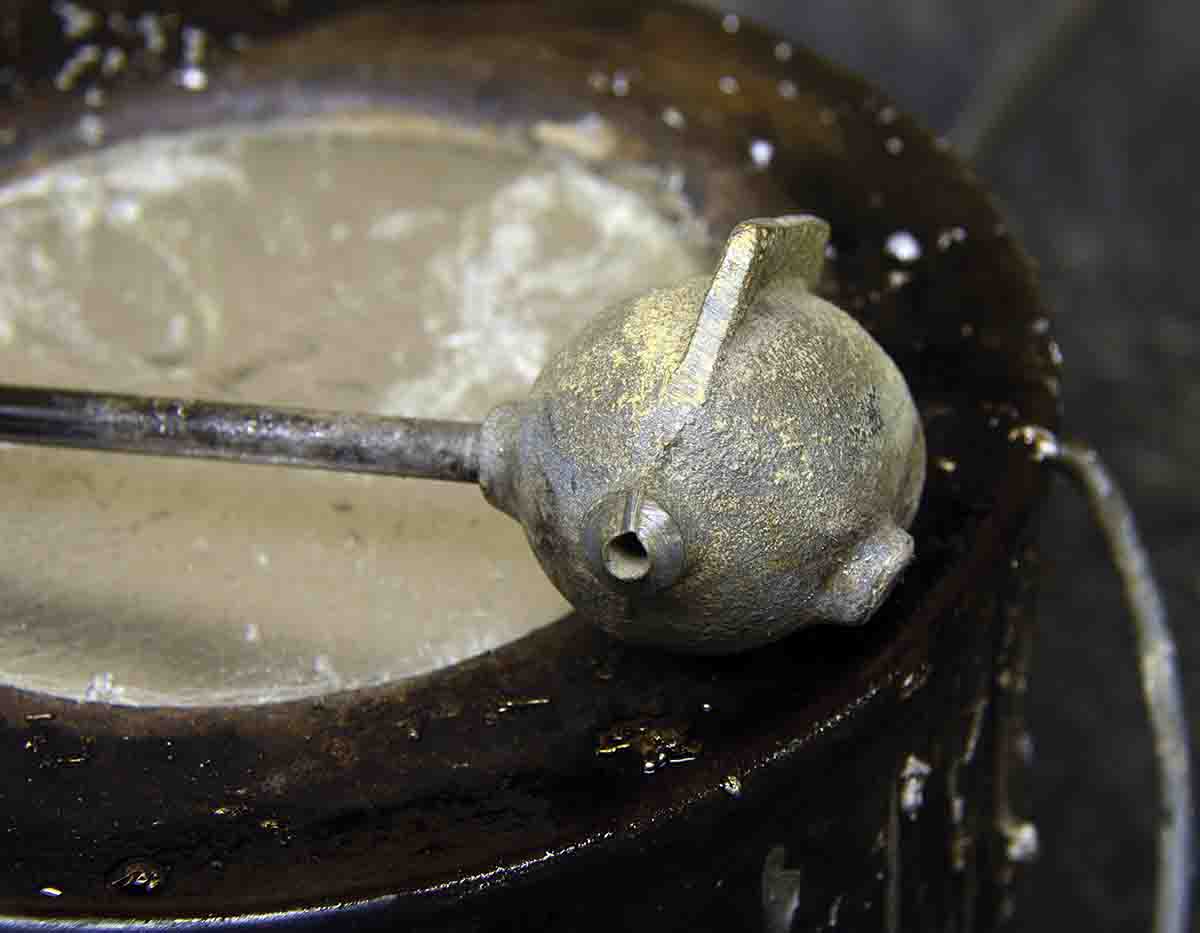
To cast bullets with perfectly filled driving bands and square bases, the air in the mould must escape when the lead is introduced into the mould. Modifying the sprue plate or the ladle to allow air to escape will reduce the number of improperly filled bullets during a casting session. To modify the ladle, a groove can be cut into the spout on the ladle with a three-cornered file.
An alternative to modifying the nose of the ladle is to fit the mould with a modified sprue plate. Butch Ulsher, from Montana, has engineered a sprue plate that not only accomplishes this purpose, but also ensures that the sprue cut is smooth and even with no tearing on the bullet’s base. Mould maker Steve Brooks, also from Montana, has also designed two sprue plates that work very well for this purpose.
There are two options for introducing lead into a bullet mould: gravity flow and ladle pouring. Some lead pots have an orifice at the bottom of the pot so molten lead can be introduced into the mould by gravity flow. Gravity-flow casting works okay for pistol bullets, but a much better bullet can be achieved with greater uniformity in bullet weight by ladle pouring. However, it takes practice to master ladle pouring.
Casting Process
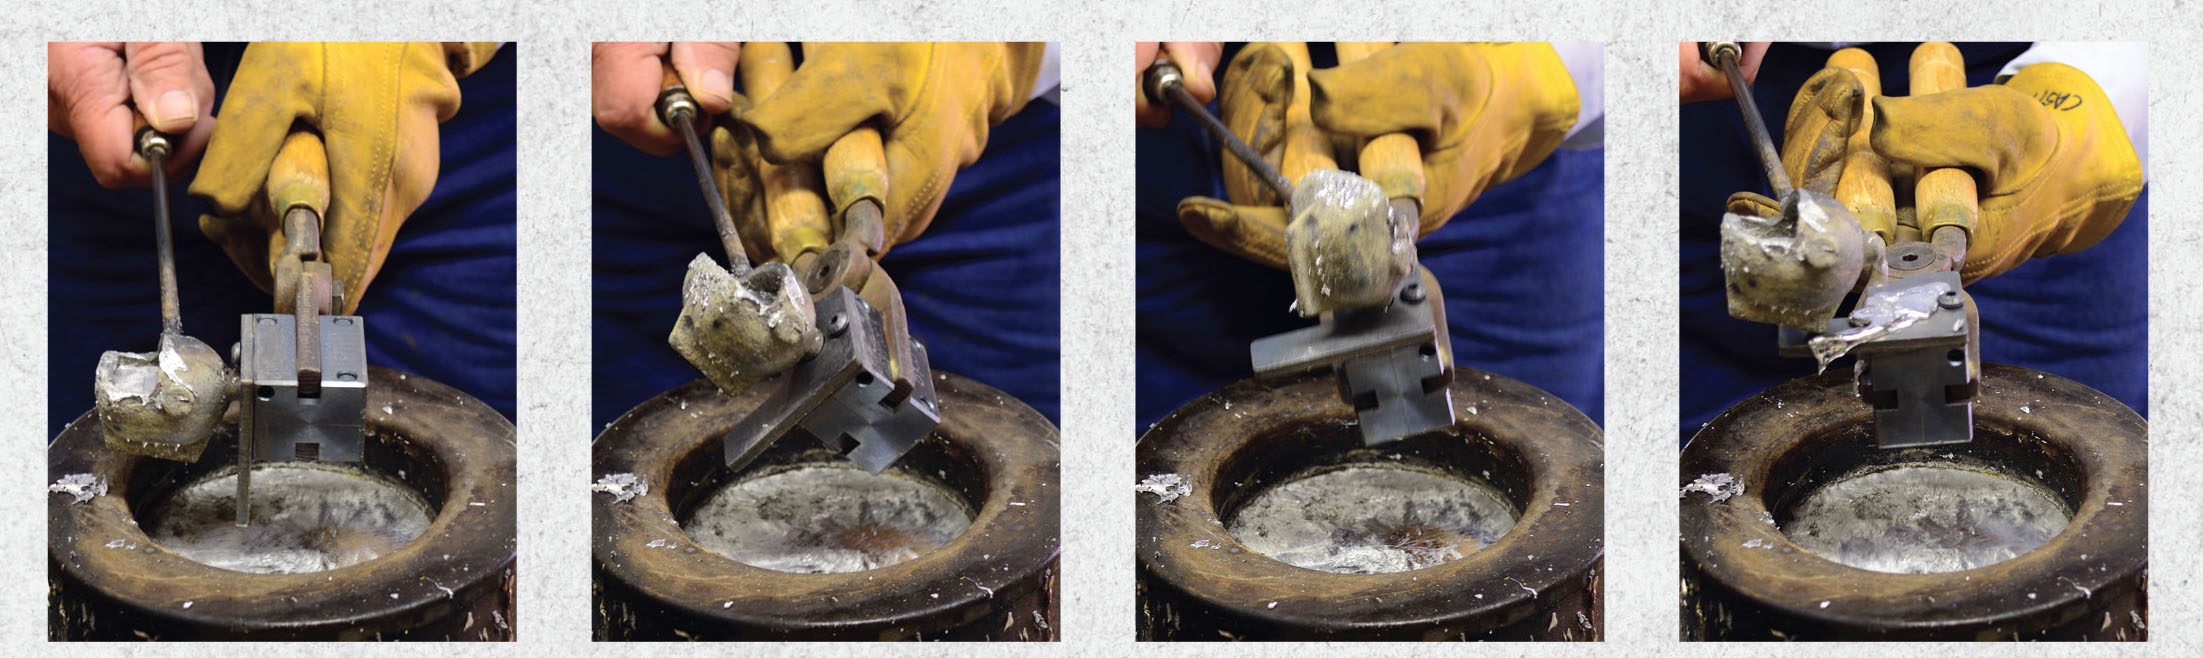
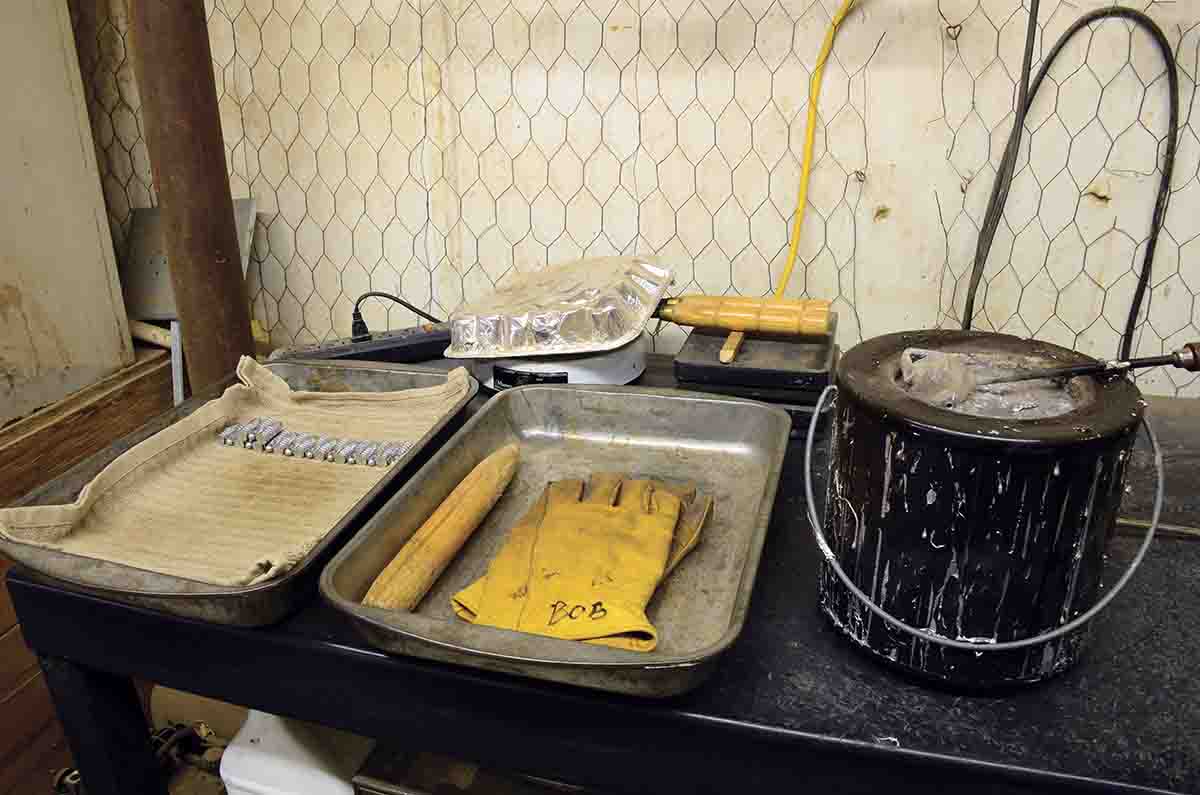
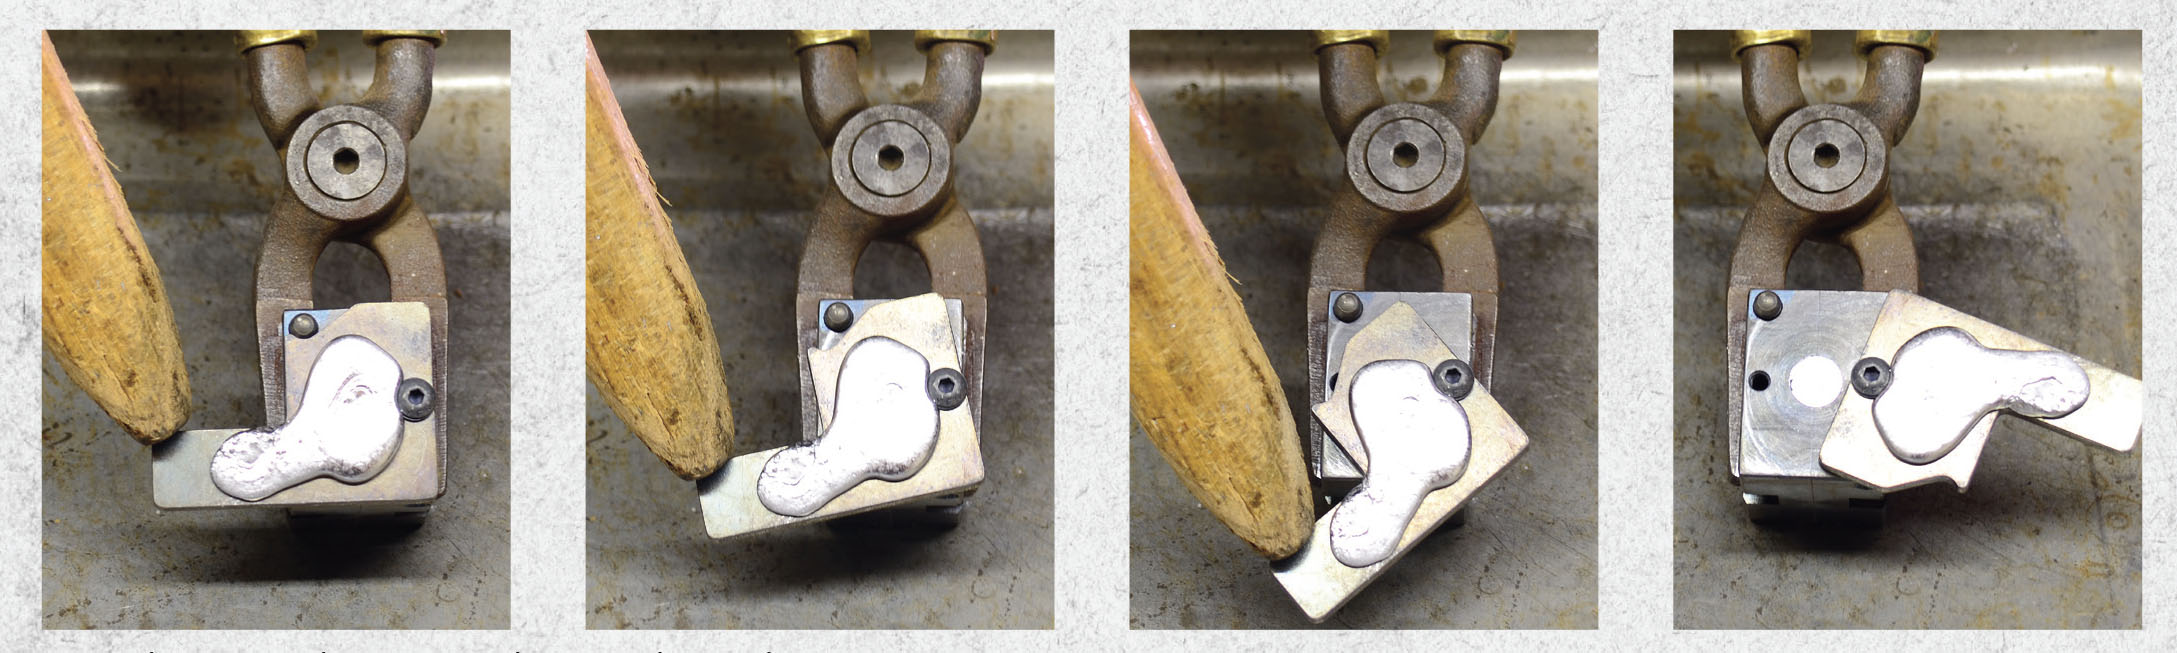
To cut the sprue, rest the front lower edge of the mould in the aluminum sprue pan, and push the sprue plate off the top of the mould with a wooden mallet. The push to cut the sprue should be done slowly. Some people use a wooden mallet to tap the sprue plate, thereby cutting the sprue. Pushing the sprue plate instead of tapping it generally produces a cleaner and smoother sprue cut on the bullet’s base. Once the sprue is cut, the ring finger of the hand holding the mould can be placed between the two mould handles, and the mould can be gently pried open. If the casting temperature is correct, the bullet should drop freely from the mould onto the dish towel-covered aluminum pan.
Never apply products to the mould cavity that are advertised to prevent bullet sticking. These products have a negative impact on bullet quality. Once applied, it is difficult to clean the mould sufficiently to bring it back into service.
The tightness of the bolt securing the two mould handles together should be checked before each casting session. This bolt can loosen over time, and if it does, there is a tendency for the two mould halves to misalign. Repeated rough closing of a misaligned mould can wear the guide pins or guide pin holes, resulting in a permanently misaligned mould. Overtightening this bolt to the point that the handles open hard can result in worn guide pins or guide holes as well. A properly tightened mould handle bolt will allow the mould to open easily without excessive up-and-down play. Additionally, after dropping a bullet from the mould, the two mould halves should be closed slowly and gently.
Proper sprue plate adjustment is also very important. When the mould is turned on its side, the sprue plate should slide off the top of the mould on its own weight. A sprue plate that is too loose will have excessive up-and-down movement of the sprue plate off the top of the mould. Because metal expands when hot, the adjustments to the mould handle and sprue plate bolt should be made when the mould is up to casting temperature. An improperly tightened sprue plate can result in smeared lead on the top of the mould or on the underside of the sprue plate.
After a casting session, I leave the last cast bullet in the mould, and I do not apply oil to the mould – but I live in an area where the relative humidity is low. Those who live in parts of the country with chronically high humidity may find it best to protect a mould from rusting by coating the inside and the outside with oil. This decision will need to be made based on your locale.
Learning the proper techniques necessary to produce quality bullets can turn bullet casting from drudgery into an enjoyable part of the sport. If you are new to black powder cartridge rifle shooting, you must have high-quality projectiles to begin the process of load development. Casting your own bullets is a necessary and rewarding skill.